How and How Long:
- DIY it! Clean cart
I used the Purdy 6 in 1 Painters Tool to scrape off the stickers and gunk.
- Repair cart: The cart was more abused that I realized – one leg was held together by screws. I removed the screws, and glued the leg together with Gorilla Glue. Let dry.
- Once dry, I realized there were still some cracks, so I added some wood putty to fill those in. Let dry. Sand.
- CONFESSION: I have only ever spray painted one piece of furniture (my son’s locker) I was unsure of how I would do…I learned quickly – go slow with smooth motions and don’t get anxious….I had a lot of drips from my own heavy spraying…BUT I got that under control and WOW so fast and easy!
- I spray a coat of Krylon Primer and then more blemishes in this beauty of a cart appeared…more Gorilla Glue…more wood putty…more sanding…ta-da!
- I sprayed a second coat and let dry. NOTE: I had decided that my top was going to be chalkboard so I took no care to paint the top nicely with the Krylon. I did prime it with the Krylon Primer.
- I LOVE Kylon’s Dover White (I have used it on many projects), so I continued to paint the cart with it and the color was spot on and application super-duper easy.
- After drying I knew what had to be done…distress it. The cart was begging for it – it was the only way to save the cart and camouflage the damage. So on this gorgeous base of paint, I sanded the legs and a few other areas to show the wear – I especially hit the places where the damage was already done.
- Then I glazed the entire cart with a mixture of DecoArt’s Dove Gray American Acrylic and Glazing Medium. I just mixed the two together and used a rag to wipe on and wipe off. It gave a subtle glazed, while letting the original color shine through.
- Once dry, I spray the entire cart with the Deft Clear Wood Finish Sealer from Rockler. I sprayed now – before painting my top with the chalkboard paint because I did not want the chalkboard to be “sealed” – it was just easier.
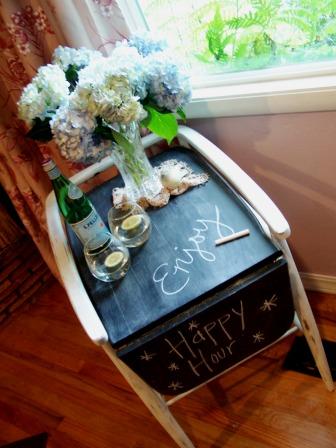
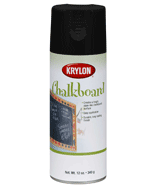
- Once dry, paint the top with chalkboard paint – 2 coats according to bottle directions. Let dry. Prime and get writing!
- For full project details and instructions, visit http://www.504main.com/2011/07/diy-trash-to-treasure-party-cart.html
Approximate project time: 36 hours (including dry time).
|