Painted Keepsake Box


  I love keepsake boxes. I have several. This shows how to make a plain wooden box into a cute keepsake box for keeping small treasures.
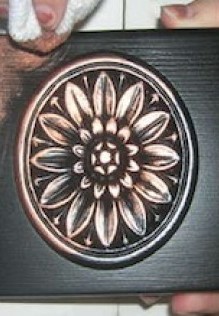
What you need:

  • (1) Plain wooden box – pay attention to hardware as this will have to be removed and reattached later
  • Wooden appliqués – available at craft stores
  • (1) can Krylon Primer Balc Satin spray paint
  • (1) can Krylon Metallic spray paint (gold, copper, silver or bronze - your choice!)
  • Felt spray adhesive
  • Sand paper
  • Old rag or sock for applying paint
  • Disposable dish
  • Wood glue
  • Ruler
  • Scissors

How and How Long:

  1. Remove hinges and feet (if any) from the box. Make sure you put these in a safe place. I put mine in a sandwich baggie and taped it to the wall above the work bench. I played with a few different layouts of the appliqués to see what I liked.
  2. Prime it. I primed the box and the appliqué separately. Attach the appliqué. Wood glue works great for this.
  3. Paint it. Make sure the box has a good coat of the satin black paint. Get all the outside edges and any part that will be seen. Also paint the inside top of the box. We will be covering the inside bottom with felt so don’t worry about that so much. Overspray there isn’t a problem either. Break out your stray sock and a disposable bowl. Spray a small puddle of the metallic paint in the bowl. Use the sock to dab and swirl the paint onto the box. This is the fun part. Go crazy.
  4. Measure the inside of the box a cut a suitable size of felt to cover it. I got lucky here. My felt was big enough and my box was small enough that I was able to cut one big piece to fit in there without having to piece things together.
  5. Use the spray adhesive to secure the felt in place. You have to be kind of quick with that stuff. Reattach the hinges and/or feet. Enjoy or give to someone special.

Approximate project time: 1 hour.
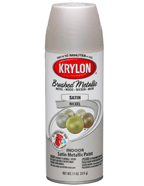

What it Costs:

Cost is $0 for one can of spray paint and other supplies.