How and How Long:
- I picked up some cheapo contact paper (Notice the ugly beige marbling?
Clearance!) from our local hardware store and began drawing a simple
floral silhouette (perhaps it was gerbera-daisy-inspired, or maybe a
hydrangea). I loosely traced this stencil on the grid side of the
contact paper and cut out the silhouettes. Then I laid them on the table
top, adjusting the heights a bit.
- Once I was happy with the placement of the floral decals, I peeled the
paper backing away and laid them on the tabletop. Next, I brought the
tabletop outside to my make-shift studio (which consisted of old canvas
tarps and a utility rug that we had lying around in the basement).
Before applying any paint, I lightly sanded the non-silhouetted portion
of the table with a fine grain paper, and then wiped with a damp cloth.
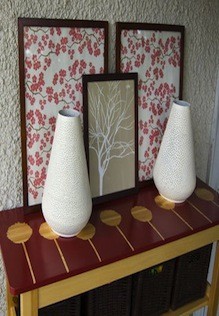
- When the table was dry, I got busy with a can of Krylon Dual spray paint
in "Banner Red" (glossy finish). Although it doesn't perfectly match
the "Cherry Red" we went with on our coffee tables and rocking chair,
it's close enough, especially since the table is on the opposite side of
the porch.
- The painting process was a breeze. The paint went on smoothly and evenly
in three coats. Each light coat dried in about 30 minutes.
- The entire sanding and painting process took less than two hours. I got a
little impatient and began pulling the contact-paper silhouettes up
before the paint fully dried (I guess this is what happens when you have
a few projects under your belt!), and the paint stayed put. Whew!
- Re attach tabletop to base of table and enjoy!
- For additional project deatils, visit http://www.curbly.com/users/alicia/posts/10543-ikea-table-gets-a-natural-modern-makeover
Approximate project time: 5 hours.
|